
版权声明优化
目的:修改文章页底部版权声明内容,实现显示 “本文作者”、“本文地址”、“版权声明” 的内容。
目前 Fluid 版本(v1.8.1)中文章末尾版权声明仅设置显示为:
而看到许多博客文章末尾都有完整的文章信息,例如“本文作者”,“本文地址”,“版权声明”等。
在 Next 等主题中自带文章末尾可以添加“文章链接”,只需要在
_config.yml 中 enable 相应模块即可,效果如下图所示。
而在 Fluid 主题中则需要用户对相应配置文件进行修改。
在网上搜寻方法时发现 七夏浅笑 针对 Fluid 主题修改的版本实现了版权声明处的文章链接显示。因为都是使用 Fluid 主题,所以想着对方应该能够解答自己的疑惑所以通过邮件进行了联系。很快得到了大佬答复:
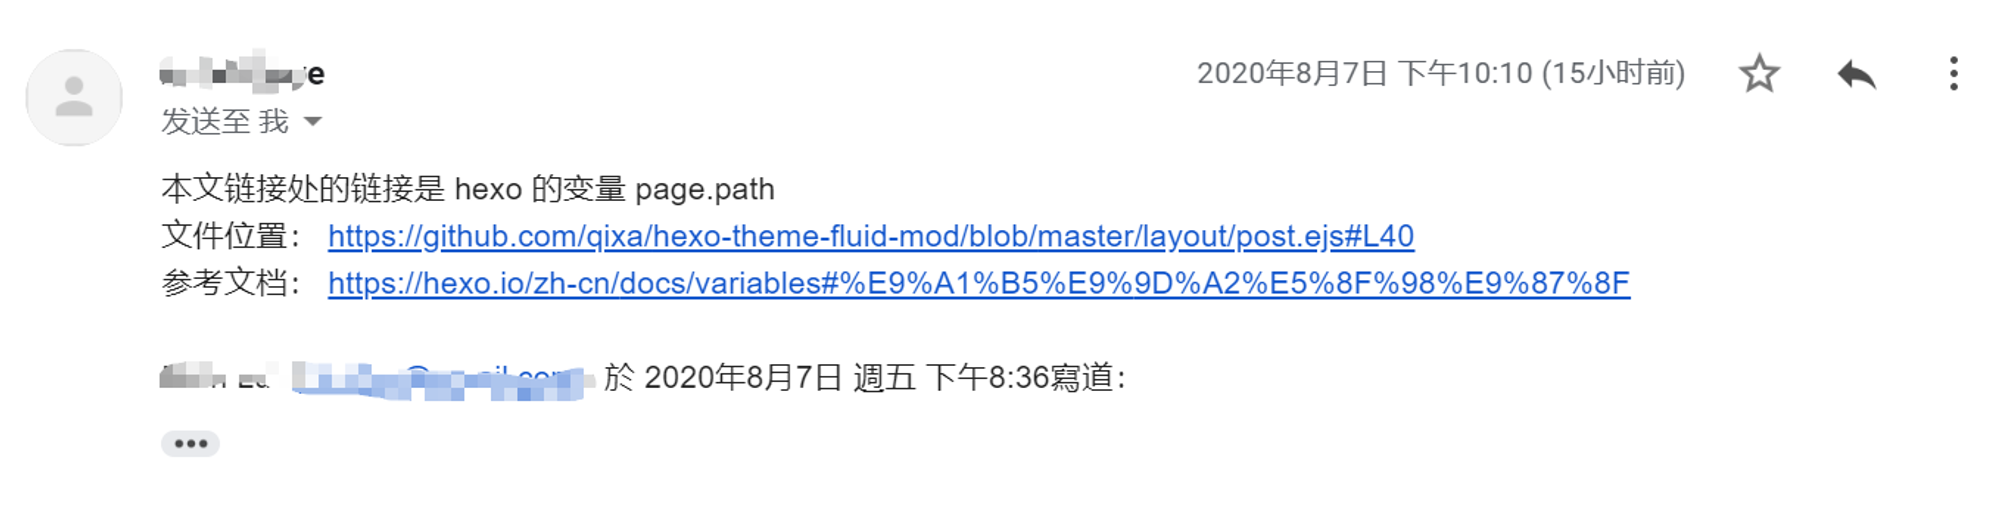
根据大佬的提示(还贴心地标出代码位置,小姐姐很 nice 了),并结合网上相应对版权声明修改的资料进行了操作。
步骤
- 打开
themes\fluid\layout中的post.ejs文件;
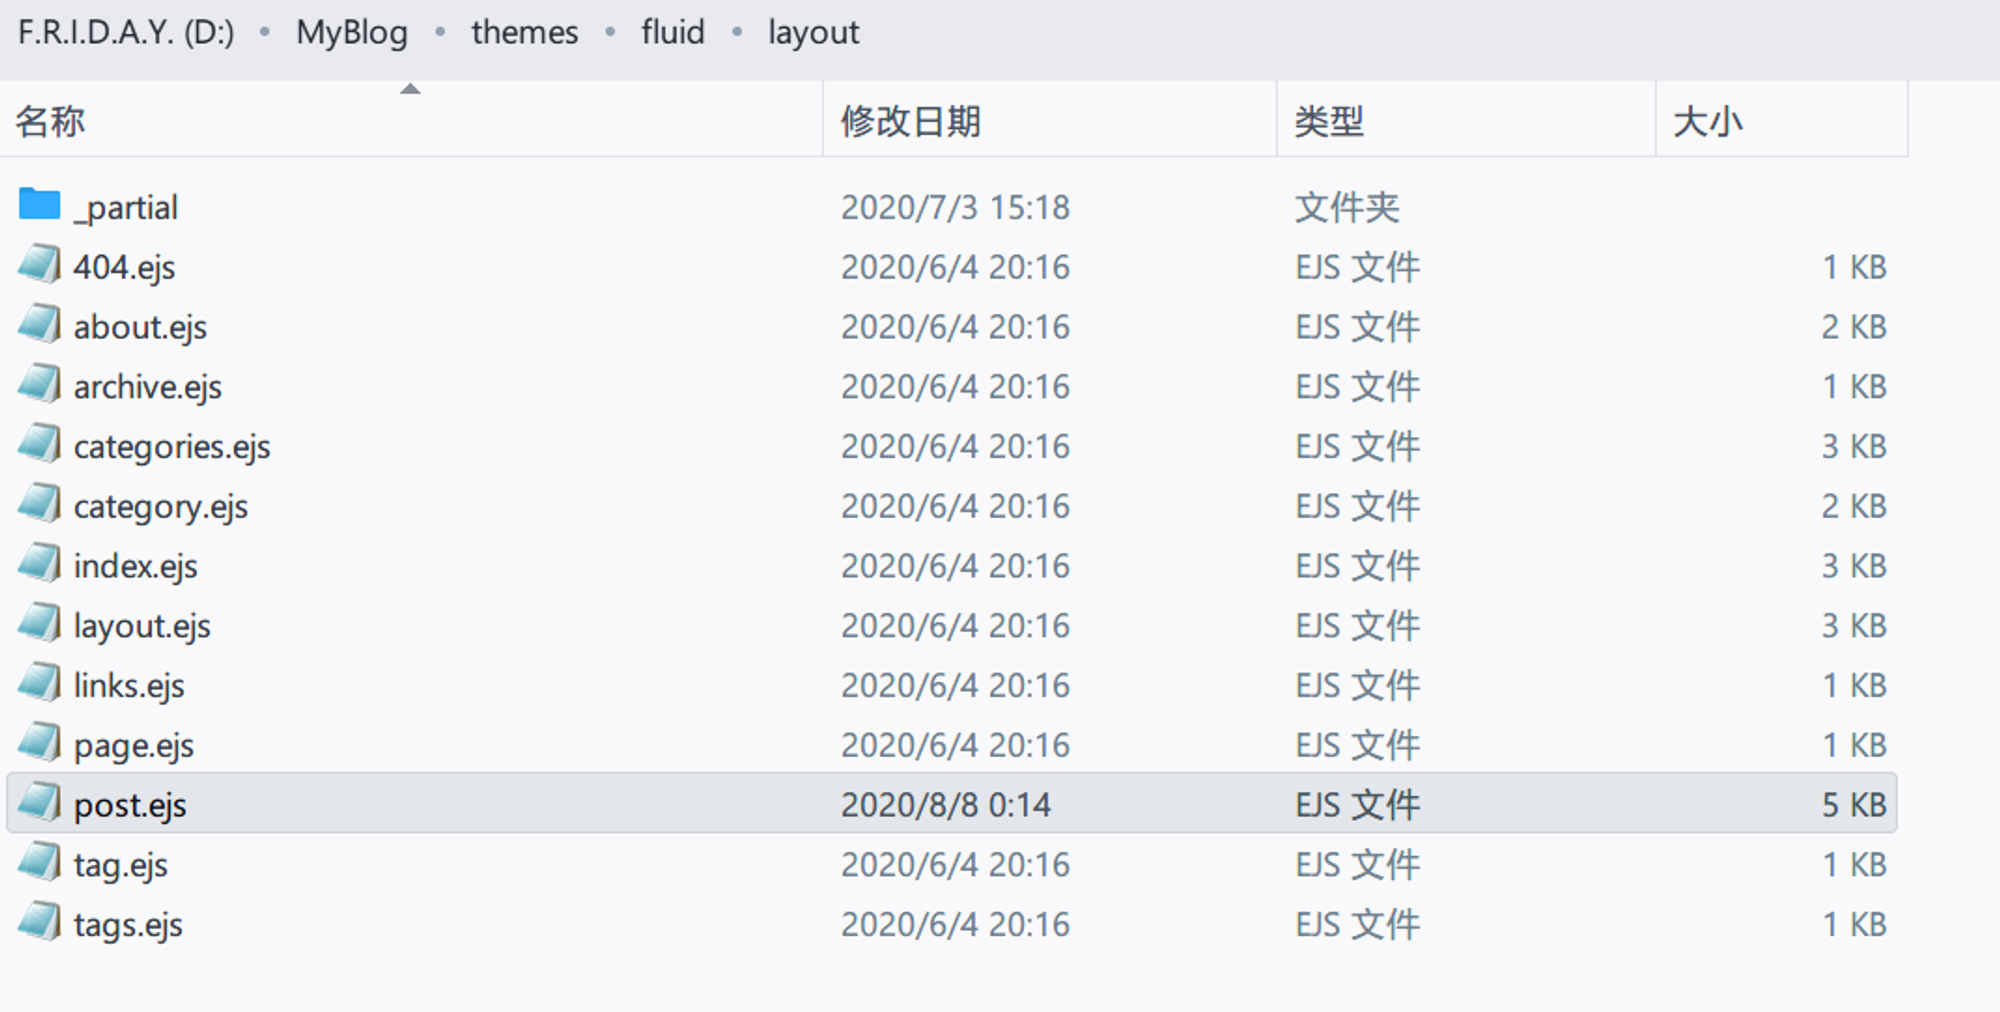
- 找到以下内容进行修改;
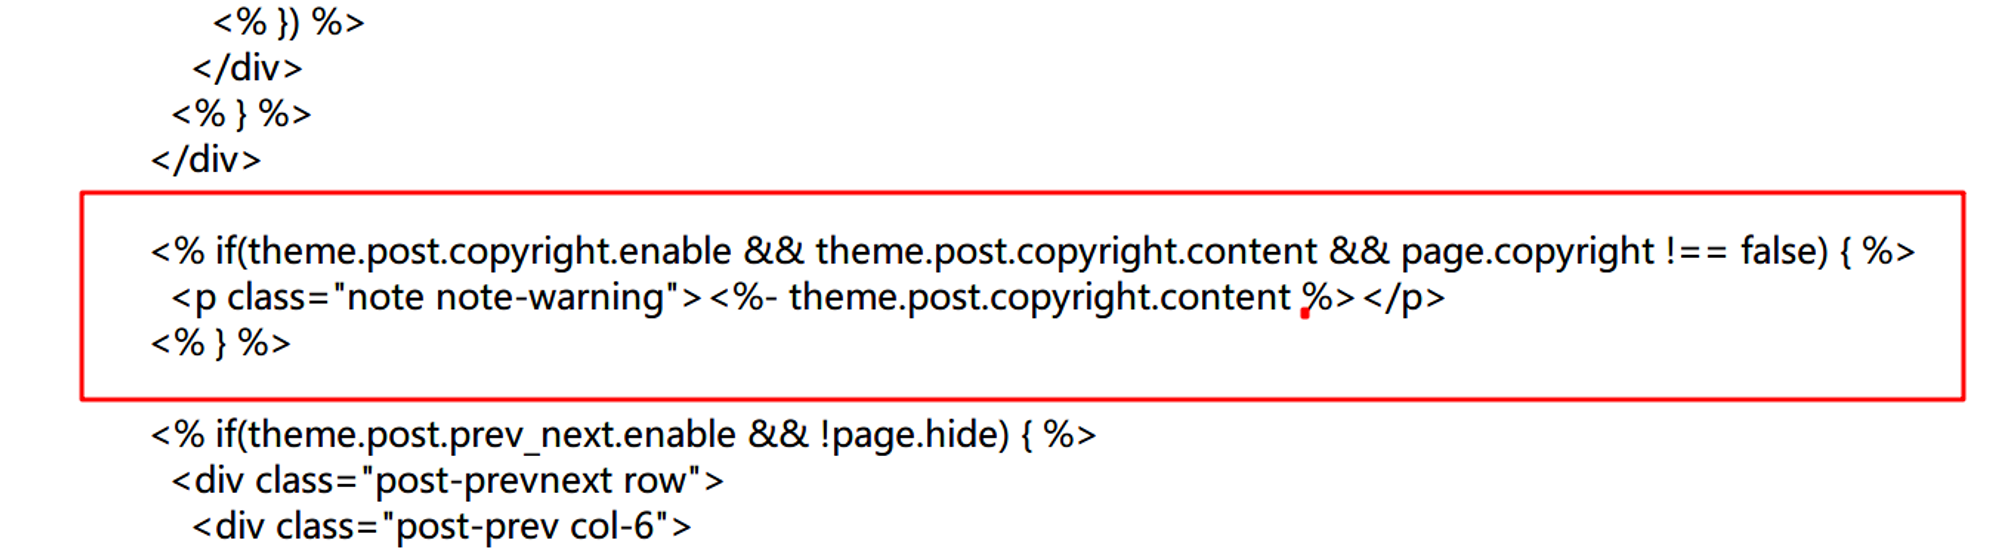
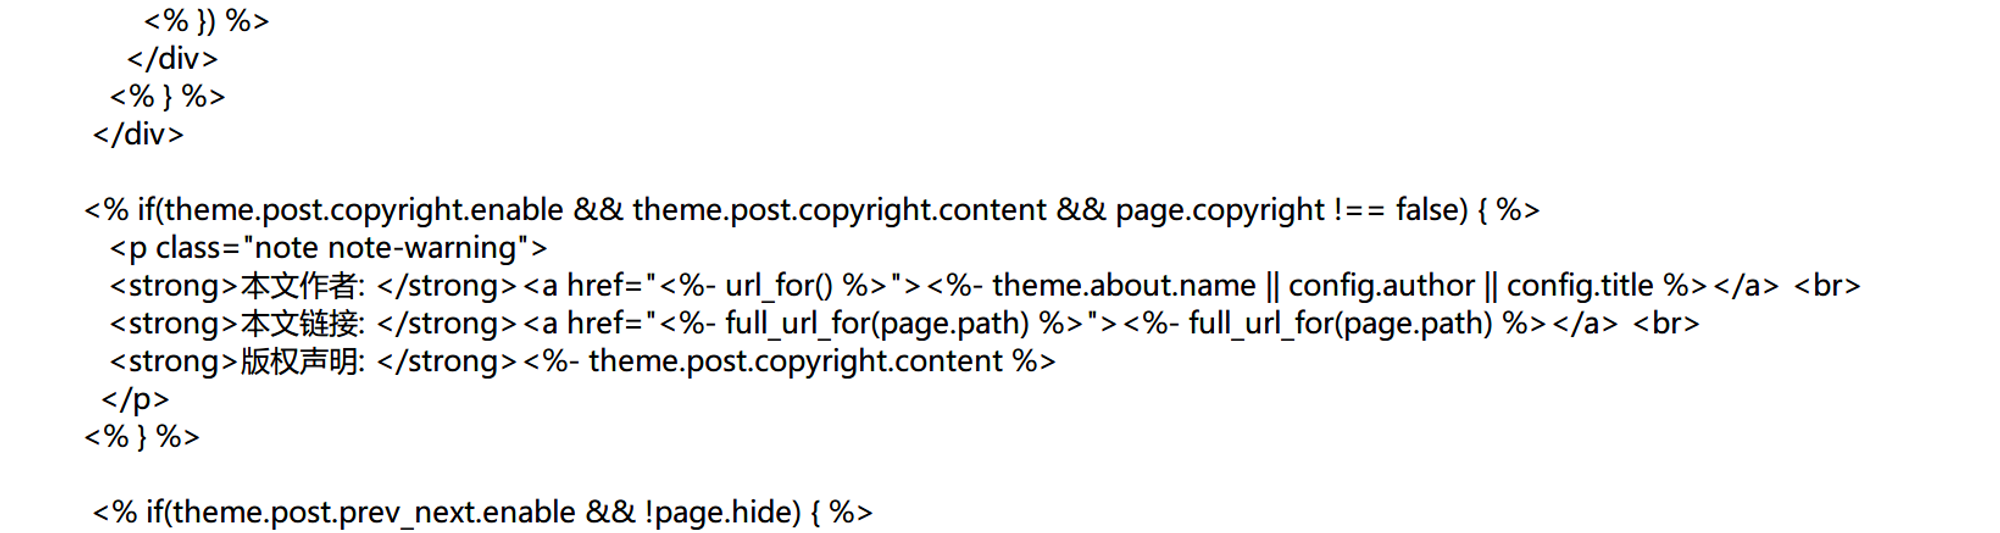
将红色部分替换为以下代码:
<% if(theme.post.copyright.enable && theme.post.copyright.content && page.copyright !== false) { %><p class="note note-warning"><strong>本文作者: </strong><a href="<%- url_for() %>"><%- theme.about.name || config.author || config.title %></a> <br><strong>本文链接: </strong><a href="<%- full_url_for(page.path) %>"><%- full_url_for(page.path) %></a> <br><strong>版权声明: </strong><%- theme.post.copyright.content %> </p> <% } %>Copy替换结果:
- 保存文件,cmd
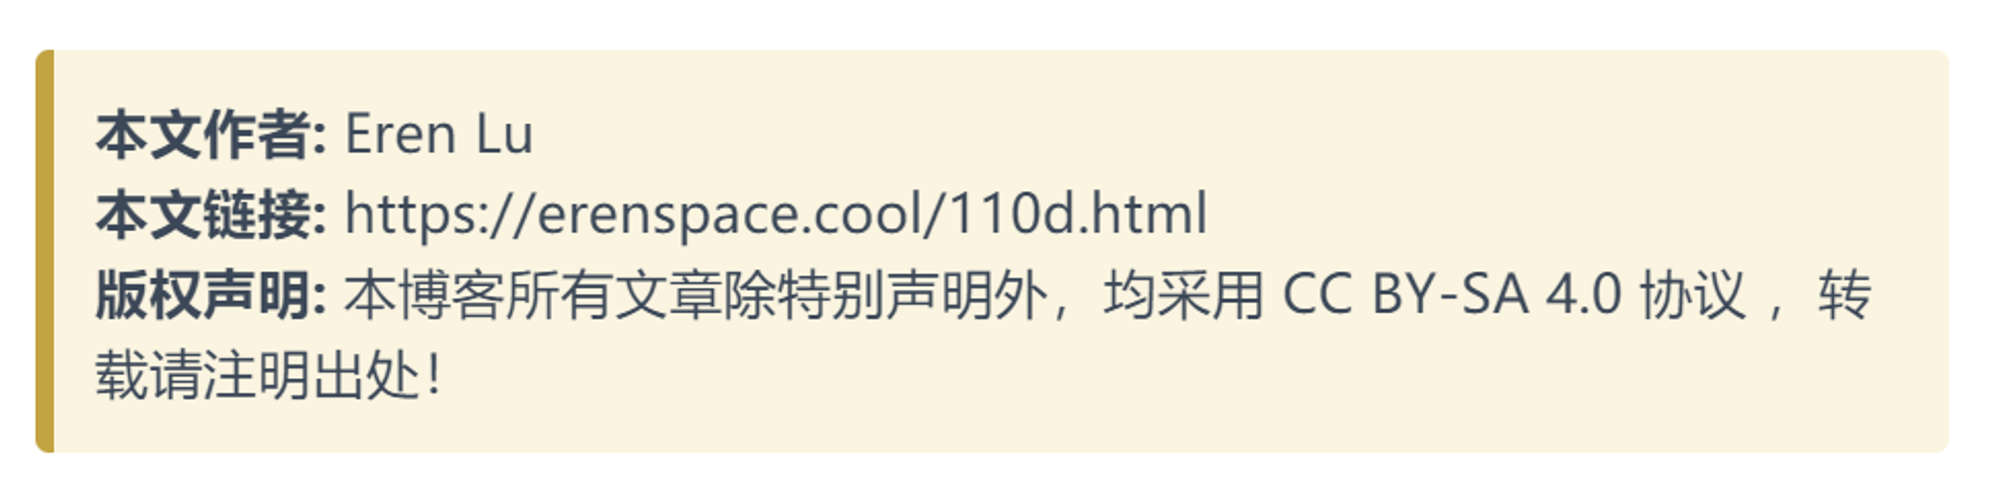
hexo cleanhexo s查看效果;
实现目标:版权声明处添加“本文链接”并能自动生成文章链接。
- cmd
hexo g -d部署博客。Bingo!
修改 Tag 颜色
- 根据 官方文档 了解到 Tag 相应的语法;
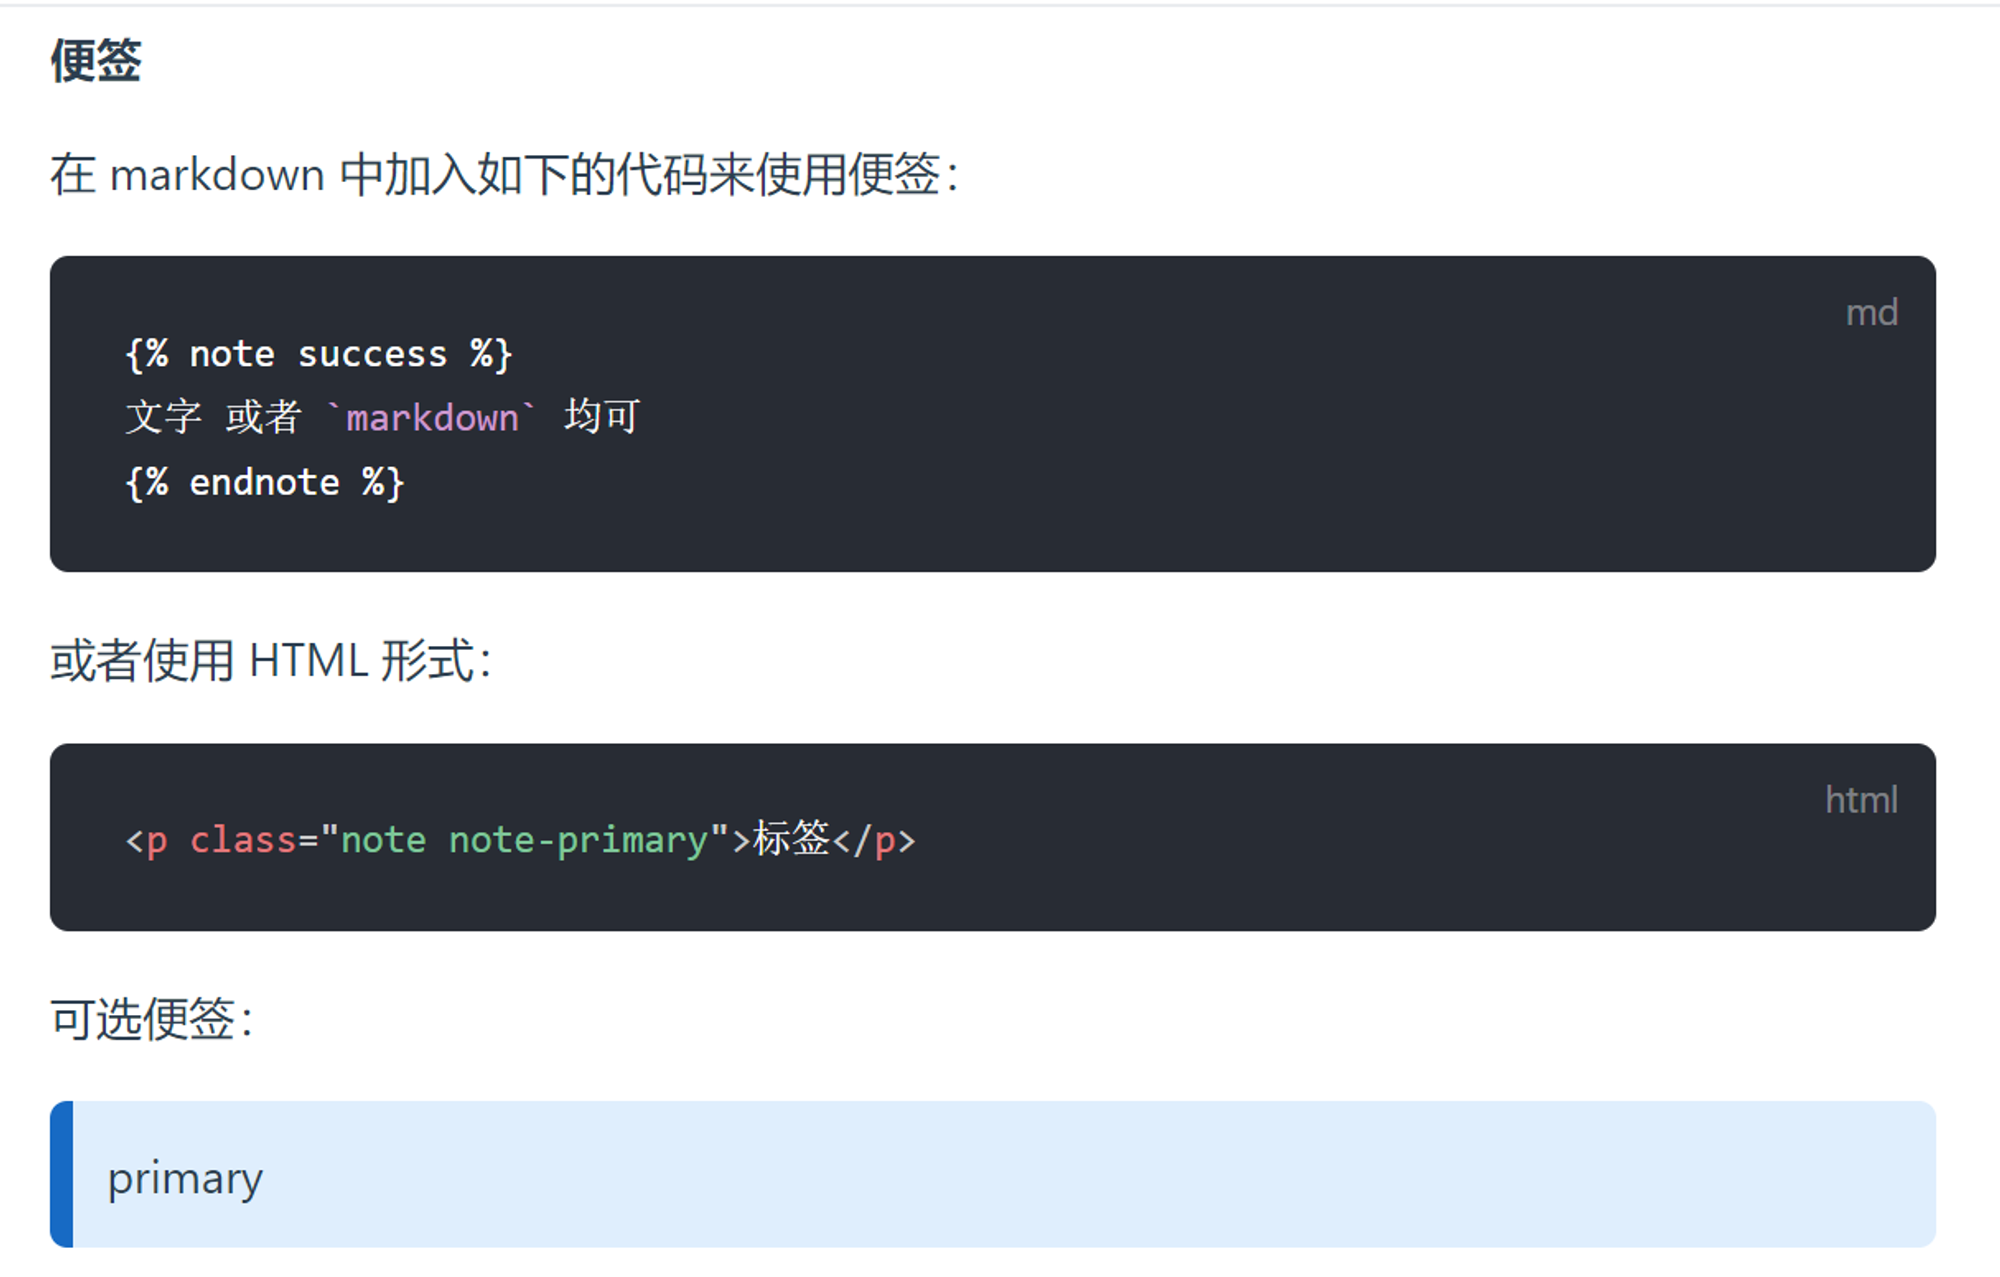
- 如果要修改 Tag 颜色只需要修改
<p class="note note-warning">即可。
错误做法
- 修改主题配置文件
config.yml
一开始笔者以为只需要简单的修改主题配置文件
_config.yml 里面版权声明处,但在“本文链接”无法正常生成链接。即使在“本文链接”后面加上代码仍然失败。<a href="<%- full_url_for(page.path) %>"><%- full_url_for(page.path) %></a>Copy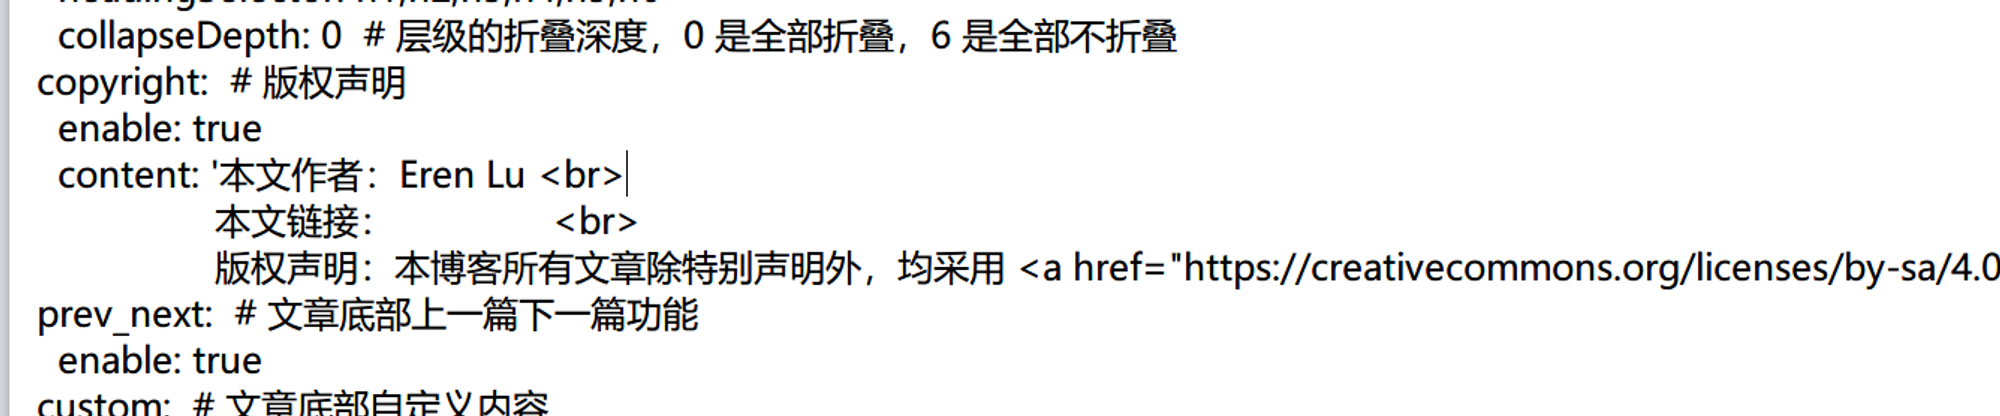
hexo s hexo g 生成结果如下图: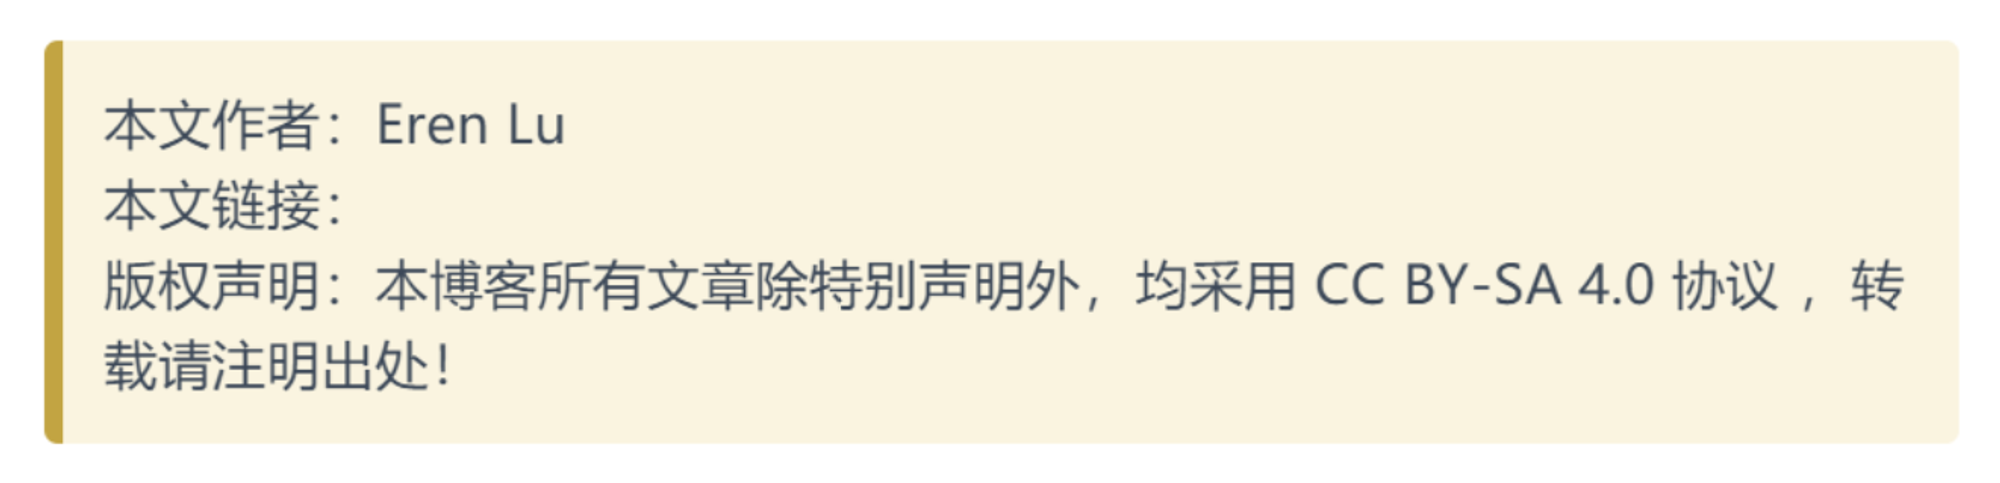
2. 单纯复制修改主题的代码
前面谈到有位小姐姐修改的 Fluid主题 能实现我的目标,我寻思着直接找她改动的代码不就行了吗。于是直接就把相应位置的代码给 copy 了过来,结果造成了页面错误。
最后进行修改调试,才恢复正常。
添加运行时间
目的:在站点页面页脚处实时显示网站运行时间 & 自定义页脚信息。
步骤
- 打开文件夹
\themes\fluid\layout\_partial下的footer.ejs文件。
- 在任意处添加如下代码:
<div>
<span id="timeDate">载入天数...</span>
<span id="times">载入时分秒...</span>
<script>
var now = new Date();
function createtime(){
var grt= new Date("07/02/2020 00:00:00");//此处修改你的建站时间或者网站上线时间
now.setTime(now.getTime()+250);
days = (now - grt ) / 1000 / 60 / 60 / 24;
dnum = Math.floor(days);
hours = (now - grt ) / 1000 / 60 / 60 - (24 * dnum);
hnum = Math.floor(hours);
if(String(hnum).length ==1 ){
hnum = "0" + hnum;
}
minutes = (now - grt ) / 1000 /60 - (24 * 60 * dnum) - (60 * hnum);
mnum = Math.floor(minutes);
if(String(mnum).length ==1 ){
mnum = "0" + mnum;
}
seconds = (now - grt ) / 1000 - (24 * 60 * 60 * dnum) - (60 * 60 * hnum) - (60 * mnum);
snum = Math.round(seconds);
if(String(snum).length ==1 ){
snum = "0" + snum;
}
document.getElementById("timeDate").innerHTML = "🚀 for "+dnum+" days"; //此次自定义显示内容 document.getElementById("times").innerHTML = hnum + " hr " + mnum + " min " + snum + " sec";
} //此次自定义显示内容 setInterval("createtime()",250);
</script>
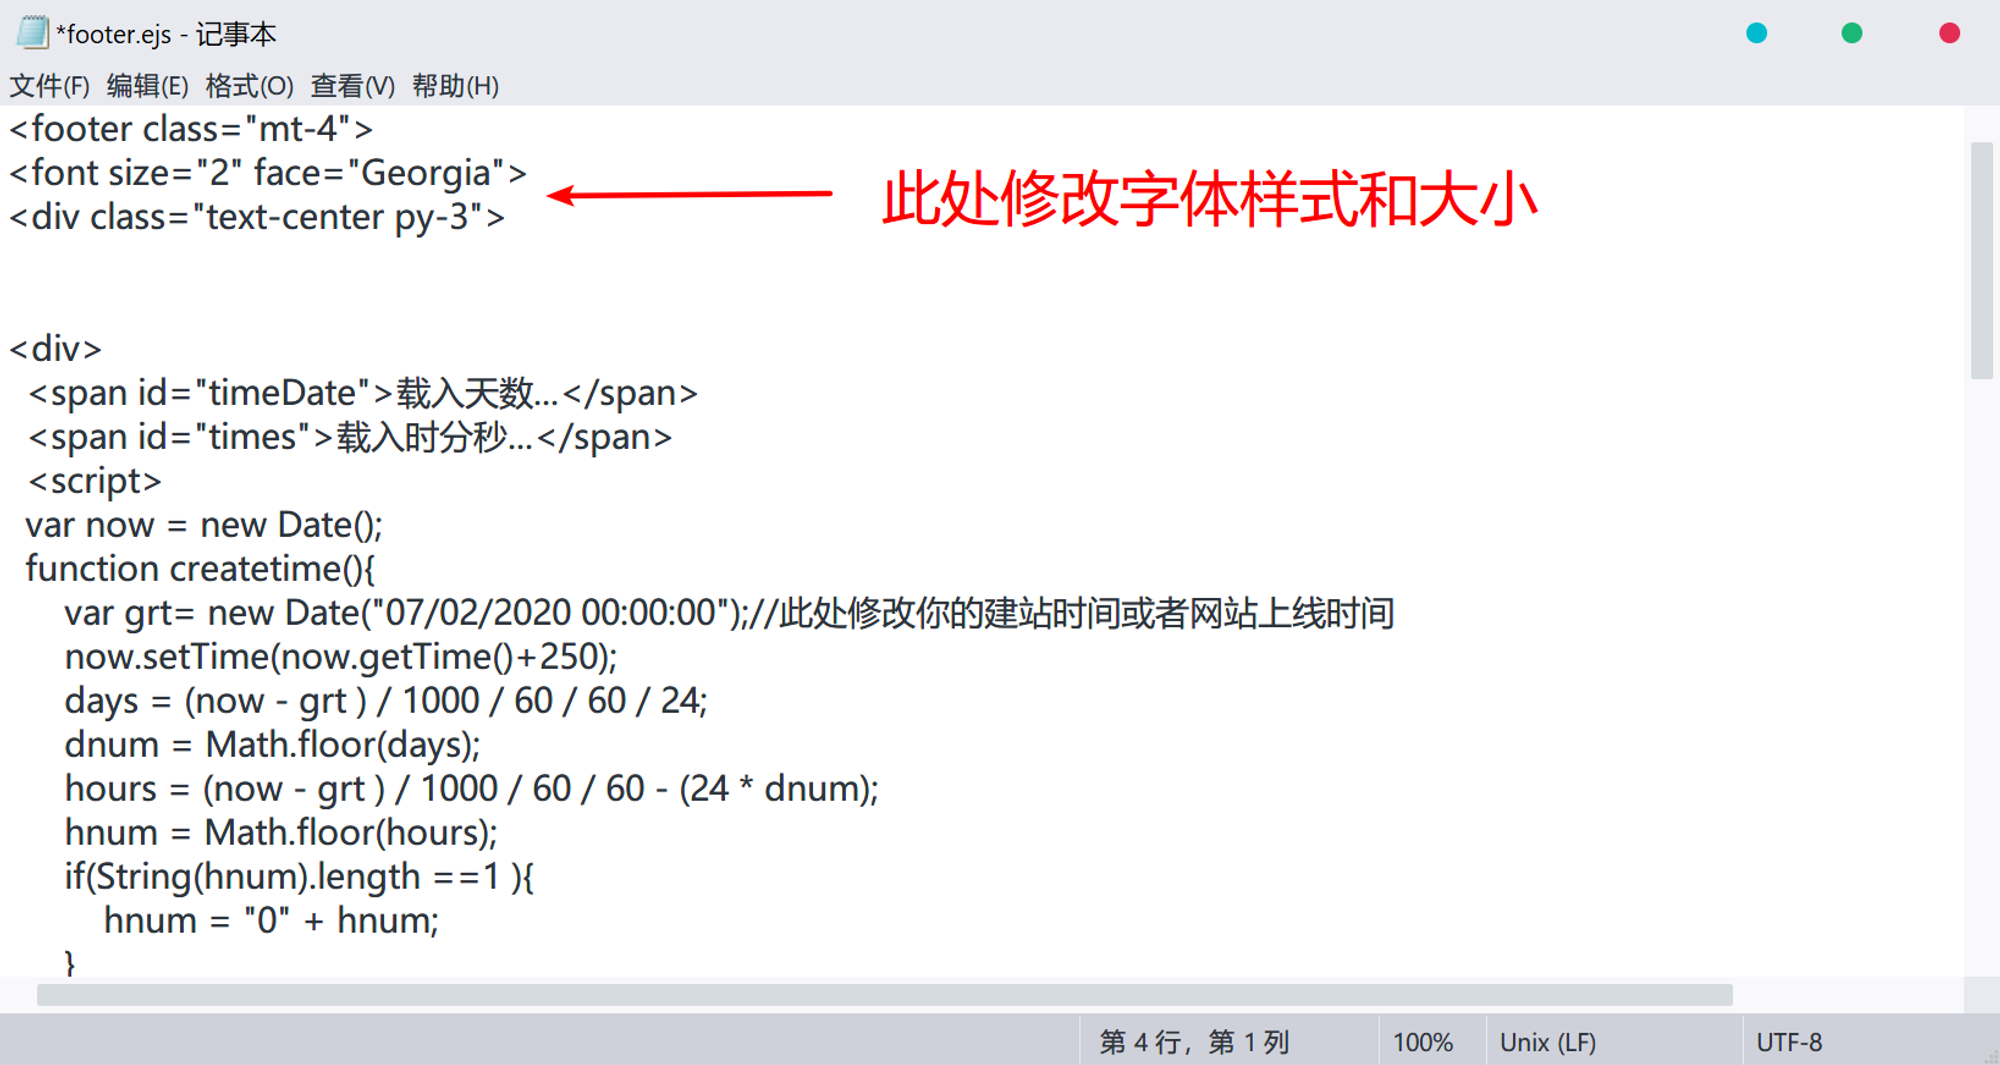
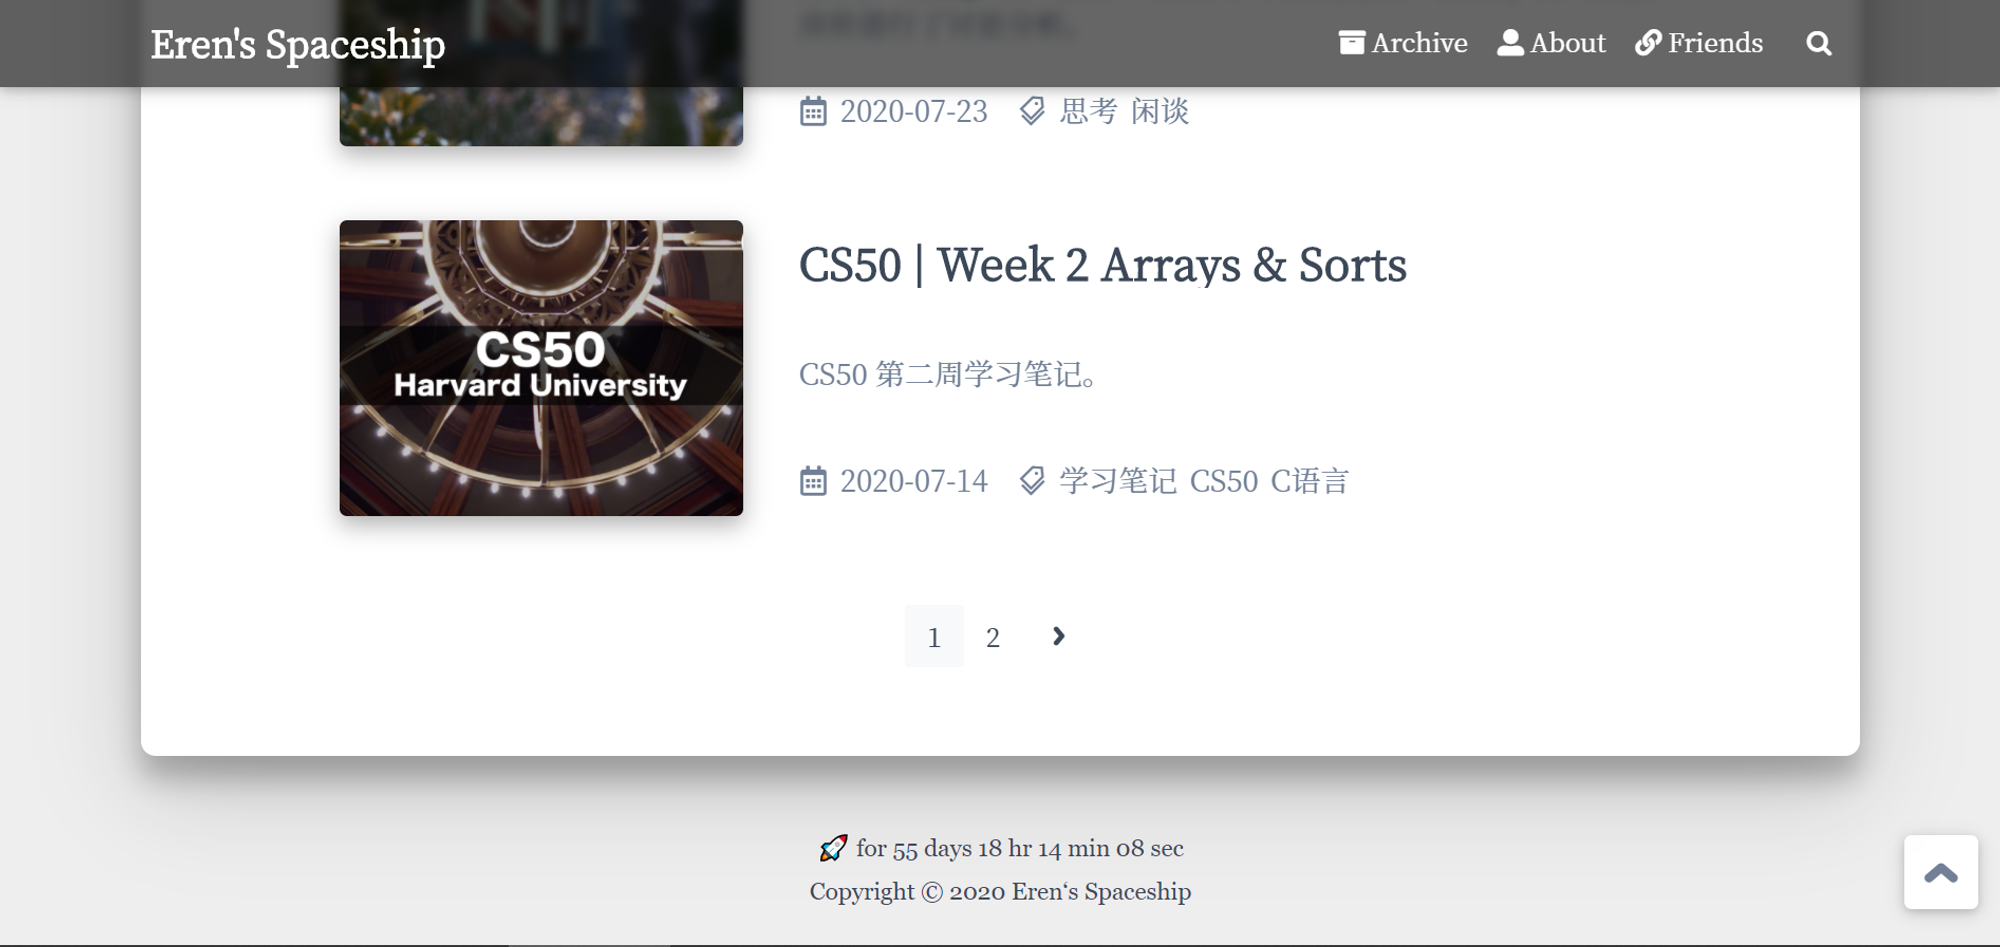
</div>Copy- 在标注处修改你自己的建站时间,同时自定义显示内容。例如笔者自定义的内容就是 “🚀 for 55 days 18 hr 09 min 37 sec”。
- (可选)修改字体样式和大小:
- 修改页脚信息,只需将
footer.ejs中对应位置改为你想显示的内容即可。例如笔者的代码如下:
<div class="text-center py-1">
  <div>
    <span>Copyright © 2020</span></a>
    <a href="https://erenspace.cool/" target="_blank" rel="nofollow noopener">
<span>Eren‘s Spaceship</span></a> <br> </div>Copy- 实现效果:
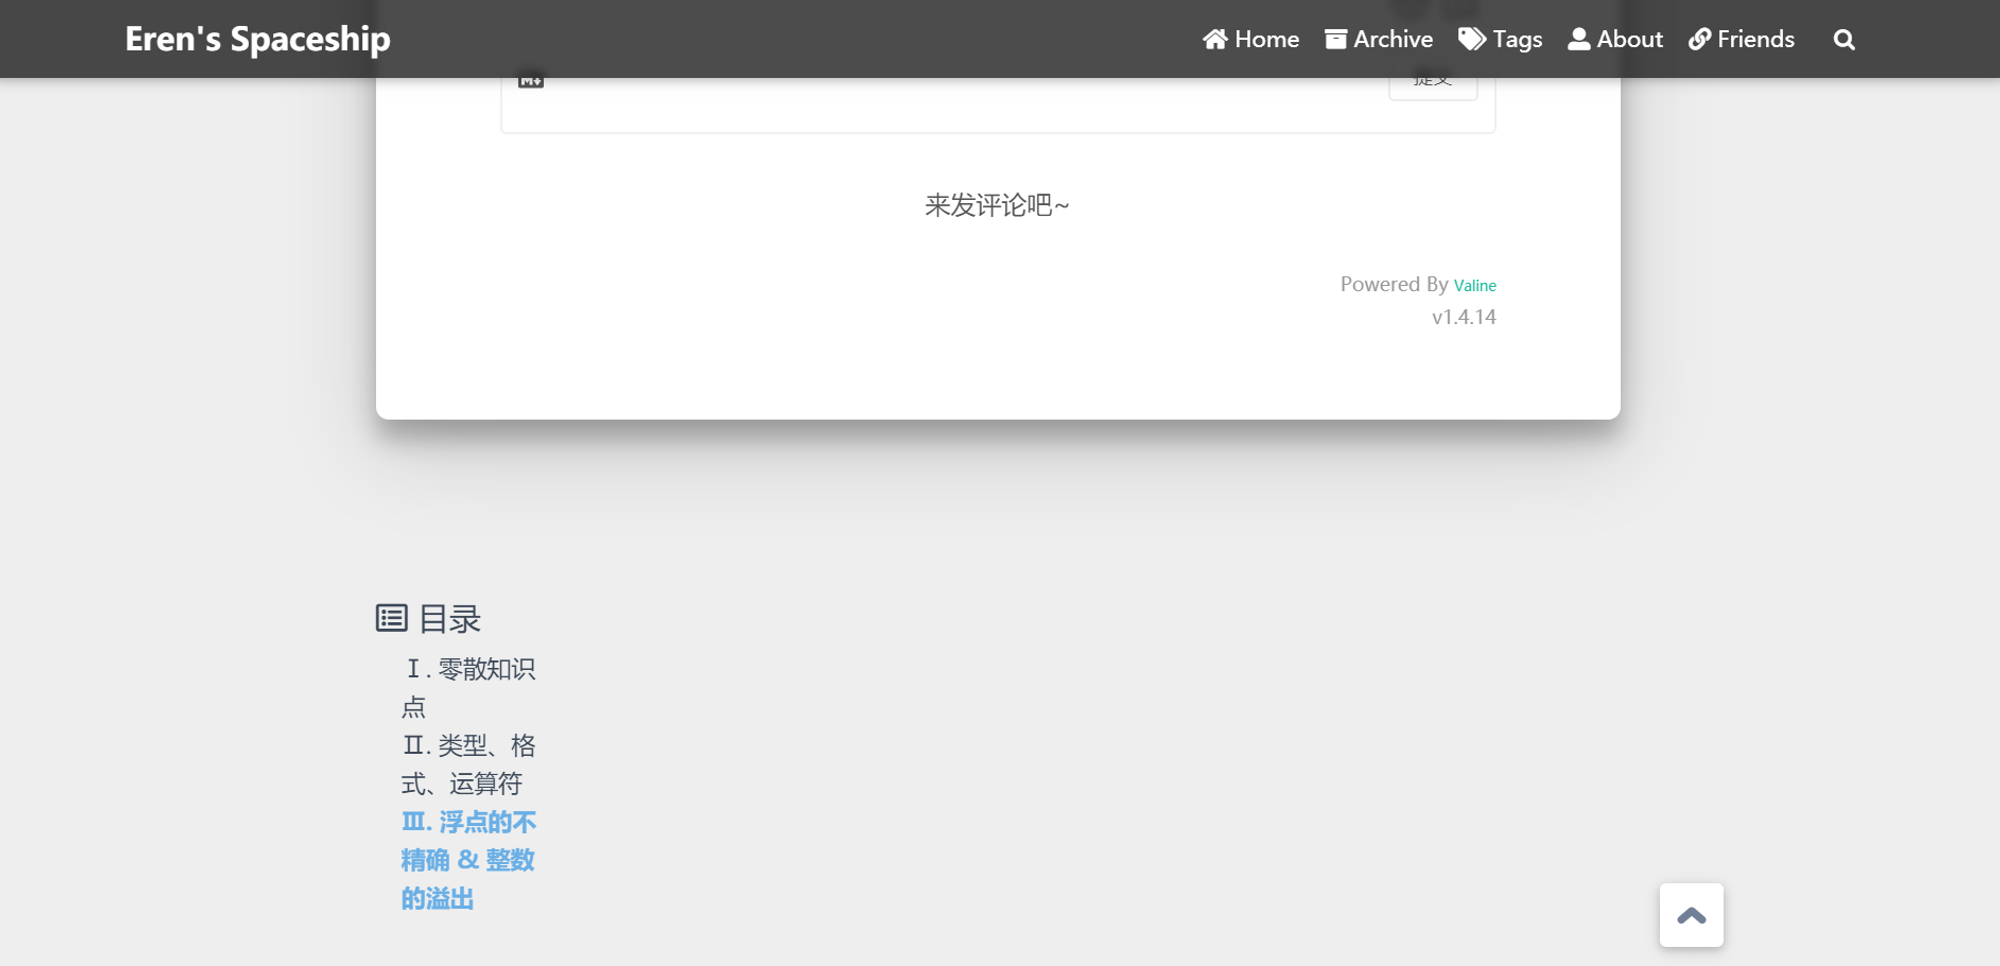
关于页添加评论
目的:在关于页添加评论功能,以实现更好的博客互动。
本文以 Valine 评论系统作为示范。
步骤
- 打开之前自行创建的关于页
.md文件:

- 在你想要的位置添加 Valine 评论系统的代码。你可在别处 CCS 文件找到你对应的 Valine 评论系统代码,也可以直接复制以下代码(复制用纯文本,这样才是 HTML 代码,否则系统会以为是文章内容代码)。注意将 app_id 和 app_key 换成你自己的。
<div id="vcomments"></div>
 <script type="text/javascript">
   function loadValine() {
     addScript('https://cdn.staticfile.org/valine/1.4.14/Valine.min.js', function () {
       new Valine({
         el: "#vcomments",
         app_id: "填写在 Leancloud 中的数据",
         app_key: "填写在 Leancloud 中的数据",
         placeholder: "留下点什么叭... ᶘ ᵒᴥᵒᶅ(自行修改)",
         path: window.location.pathname,
         avatar: "monsterid",
         meta: ["nick","mail","link"],
         pageSize: "10",
         lang: "zh-CN",
         highlight: false,
         recordIP: false,
         serverURLs: "",
       });
     });
   }
   createObserver(loadValine, 'vcomments');
 </script>
 <noscript>Please enable JavaScript to view the <a href="https://valine.js.org" target="_blank" rel="nofollow noopener noopener">comments
powered by Valine.</a></noscript>Copy实现效果参考:https://erenship.com/about/
更新
由于在使用覆盖方式升级 Fluid 主题到 1.8.3 后关于页评论板块消失。更新添加评论方法。
打开
\themes\fluid\layout 文件下的 about.ejs 文件,在文件末尾添加以下评论代码即可。<% if(theme.valine.appid && theme.valine.appkey){ %>
<div id="vcomments"></div>
<script type="text/javascript">
function loadValine() {
addScript('<%= url_join(theme.static_prefix.valine, 'Valine.min.js') %>', function () {
new Valine({
el: "#vcomments",
app_id: "<%= theme.valine.appid %>",
app_key: "<%= theme.valine.appkey %>",
placeholder: "<%= theme.valine.placeholder %>",
path: <%= theme.valine.path %>, avatar: "<%= theme.valine.avatar %>",
meta: <%- JSON.stringify(theme.valine.meta || []) %>,
pageSize: "<%= theme.valine.pageSize %>",
lang: "<%= theme.valine.lang %>",
highlight: <%= theme.valine.highlight %>, recordIP: <%= theme.valine.recordIP %>, serverURLs: "<%= theme.valine.serverURLs %>",
});
});
}
waitElementVisible('vcomments', loadValine);
</script>
<noscript>Please enable JavaScript to view the <a href="https://valine.js.org" rel="nofollow noopener">comments
powered by Valine.</a></noscript>
<% } %>Copy自定义字体
目的:在网站中引入自定义字体;
本教程以引入思源宋体为例。
如需引入本地字体,可使用 字蛛(font-spider) 对字体文件进行压缩,但由于未知原因笔者使用字蛛压缩失败。故而使用在线托管字体网址进行字体引用。
字体,作为影响网页美观的重要因素。我们常常需要个性化字体来突显网站的风格。但由于中文字体不同于英文字体只需覆盖 26 个字母 ,中文字体包由于包含大量中文字库,其文件大小通常有几兆甚至十几兆。这给网页浏览来带极大的流量负担,拖慢加载速度,影响用户体验。
在 Fluid 官方文档 中也建议使用系统自带字体。
需要注意:最好使用系统自带的字体,否则需要通过自定义功能额外引入 @font-face,字体一般较大,不建议引入;应当至少添加一个通用的字体族名(如 serif,具体见上方链接文章)。
但是,这怎么能止住我们追求美的脚步呢?
引入字体
2018 年在 Google Fonts 上已经托管了思源宋体,所以我们可以直接通过托管引入到我们的博客中。打开 Google Fonts,搜索思源宋体的英文名:
Noto Serif SC,在列表中选择我们个人觉得合适的字体样式,点击右侧的 Select this style,注意此处可根据自己需要选择多个样式。关于字体引用概念和前期准备工作请参考以下教程,在 本地设置 中会针对 Fluid 主题的自定义操作进行讲解。本地设置
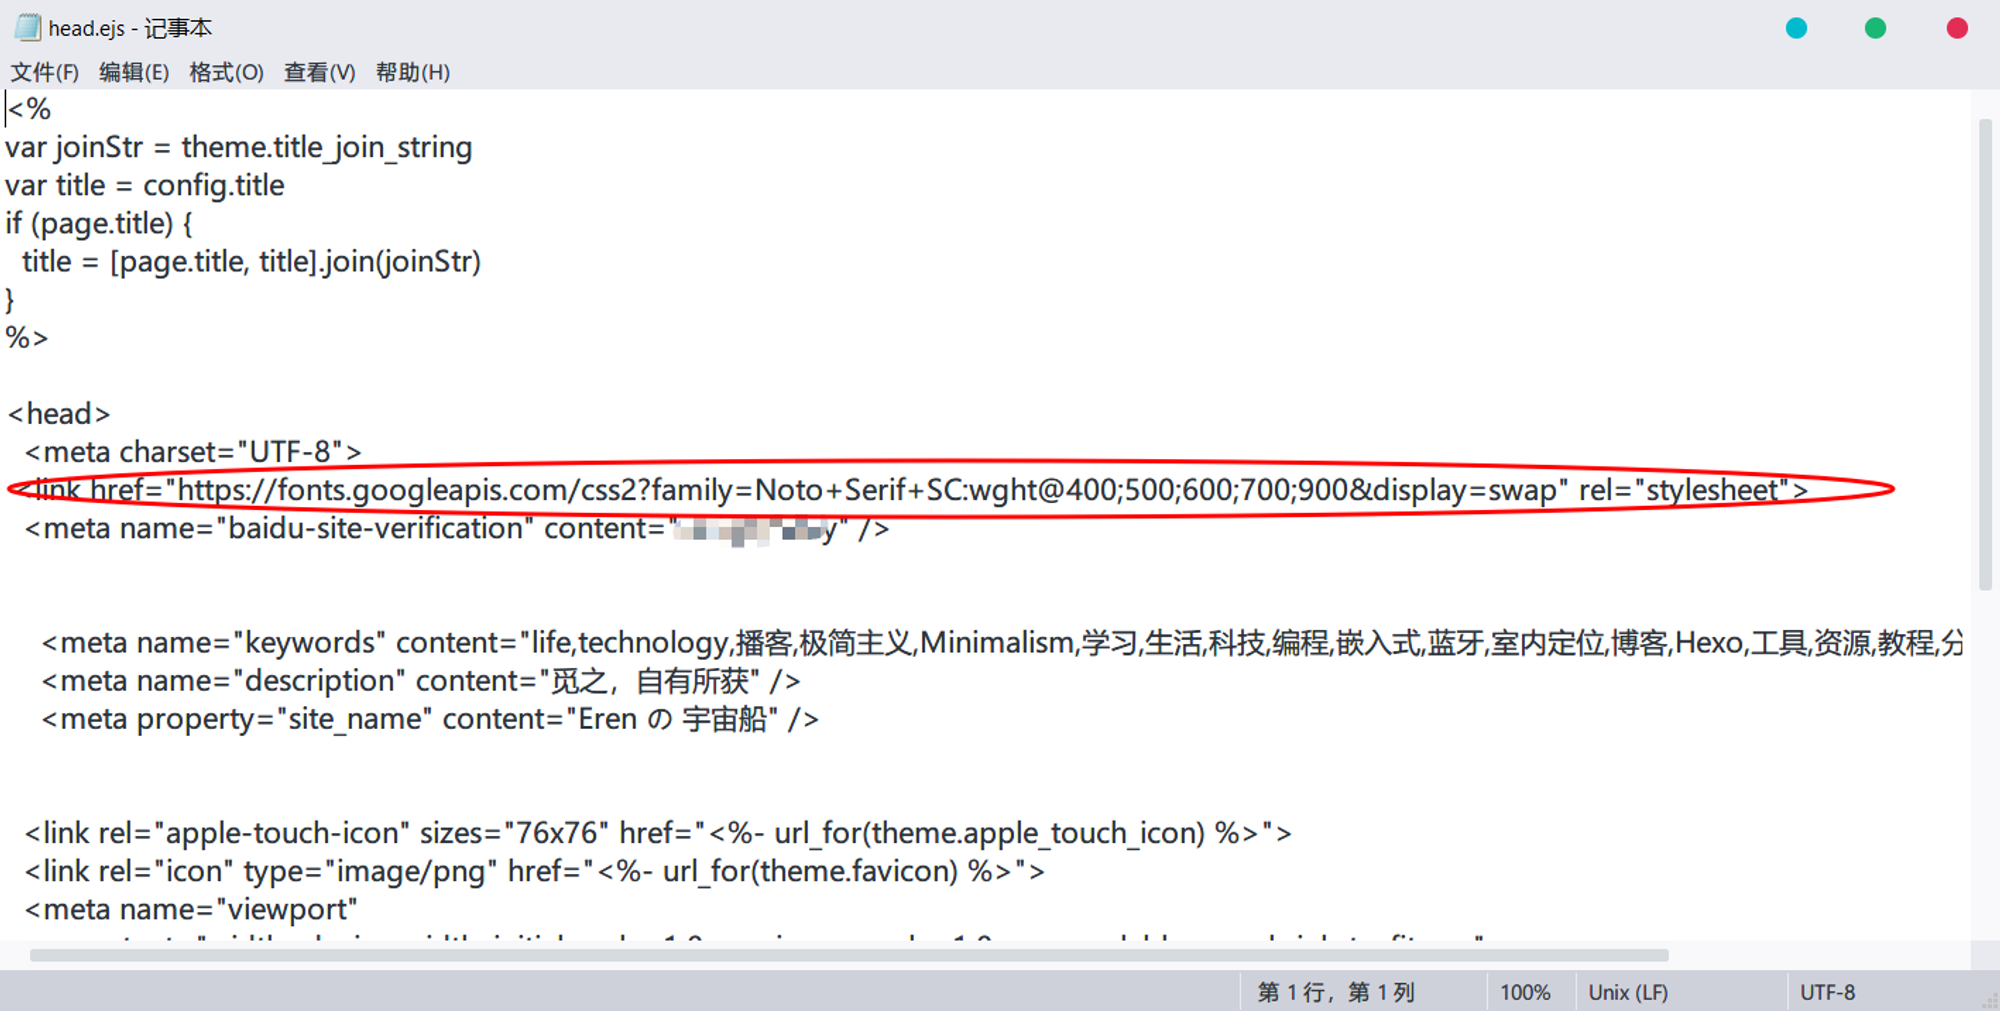
- 在按照上述教程将 代码复制好之后,打开
\themes\fluid\layout\_partial目录下的head.ejs文件,将引入链接添加进文档中。

- 将字体英文名称添加到
\themes\fluid\source\css\variables\目录下的base.styl文件中,具体位置为font-family:。例如笔者引入的字体位思源宋体,其英文名称为 “Noto Serif SC”。

至此,我们就完成了自定义字体引入。你可以执行部署命令来检查是否成功引入。
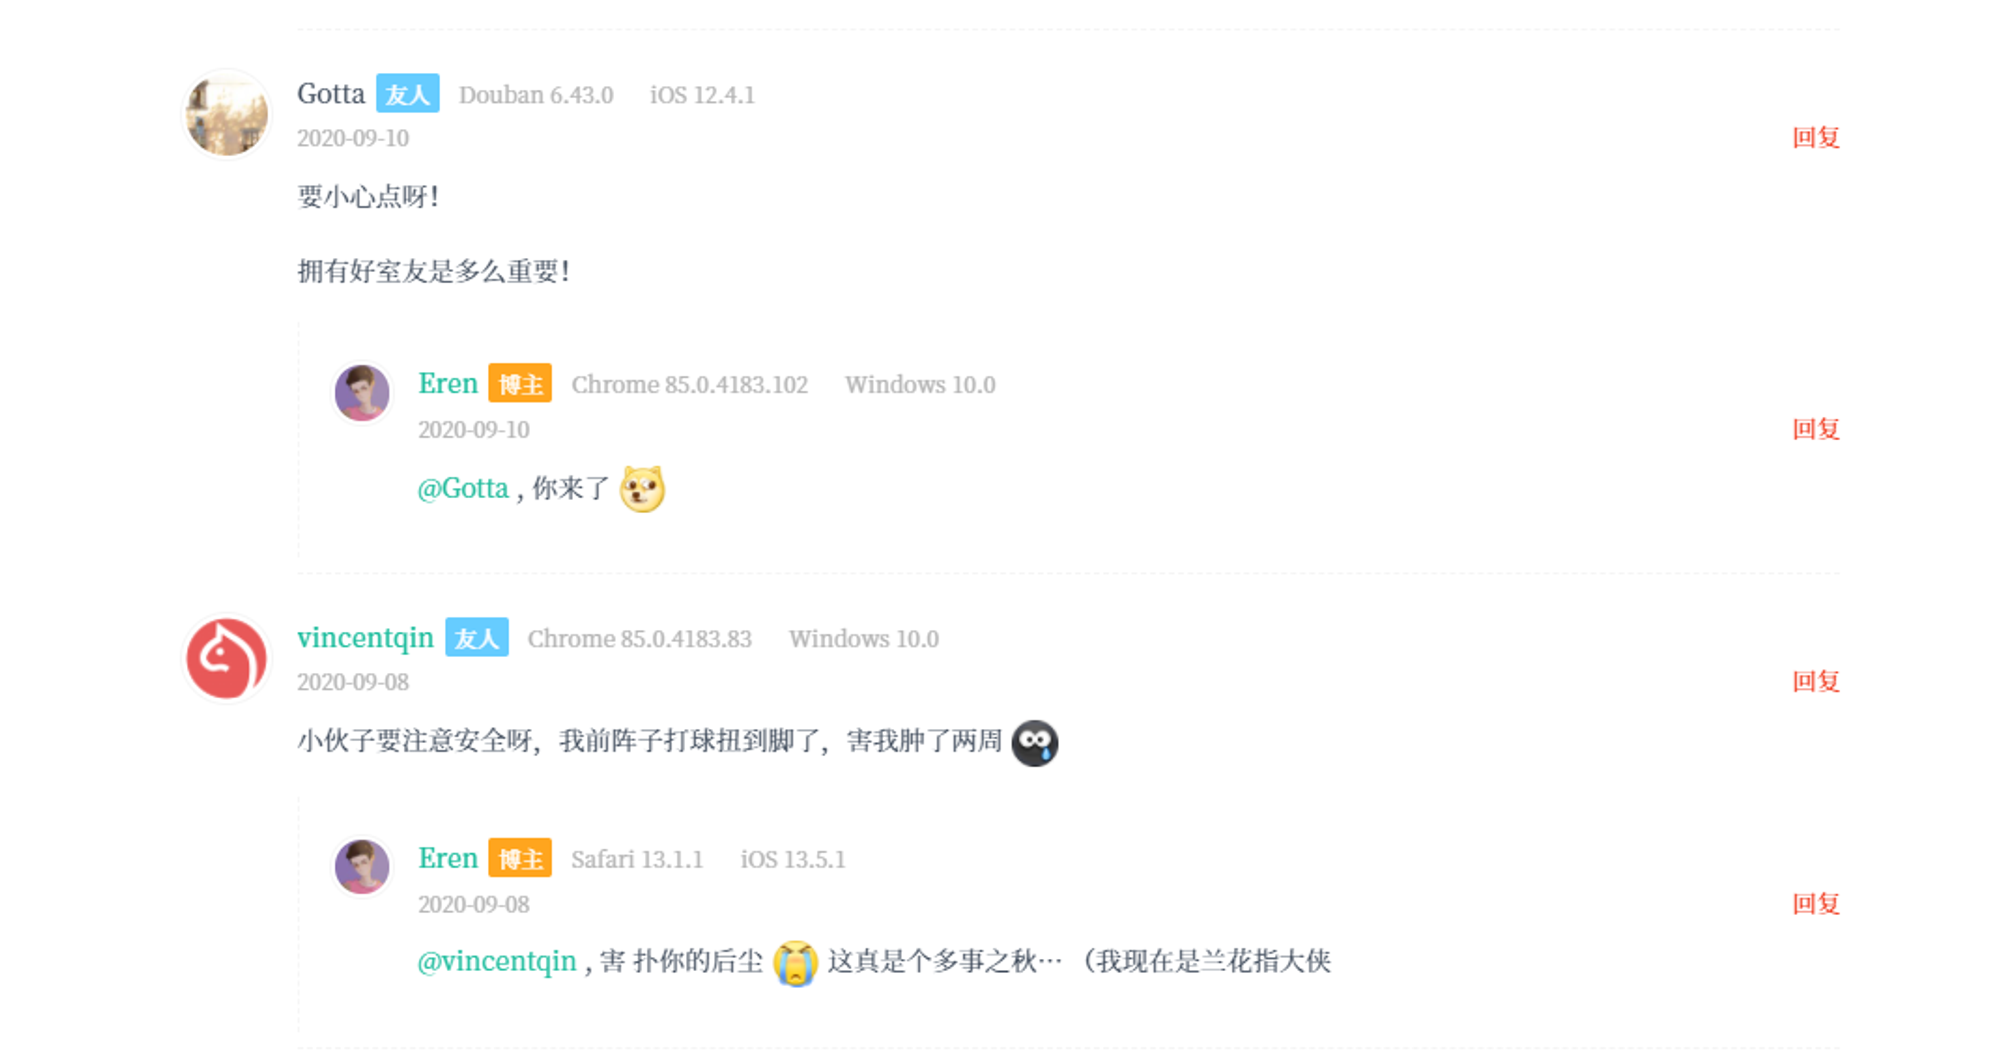
评论样式美化
目的:展现评论者身份标识
由于当前版本的 Valine 不能实现评论者身份标识的功能,所以我们需要使用魔改版的 Valine。
- 打开
\themes\fluid\layout\_partial\comments中的valine.ejs文件,替换红标处内容为https://cdn.jsdelivr.net/gh/HCLonely/Valine@latest/dist/Valine.min.js
- 新增以下内容。
master: "<%= theme.valine.master%>",
friends: "<%= theme.valine.friends%>",
tagMeta: ["博主","友人","访客"],Copy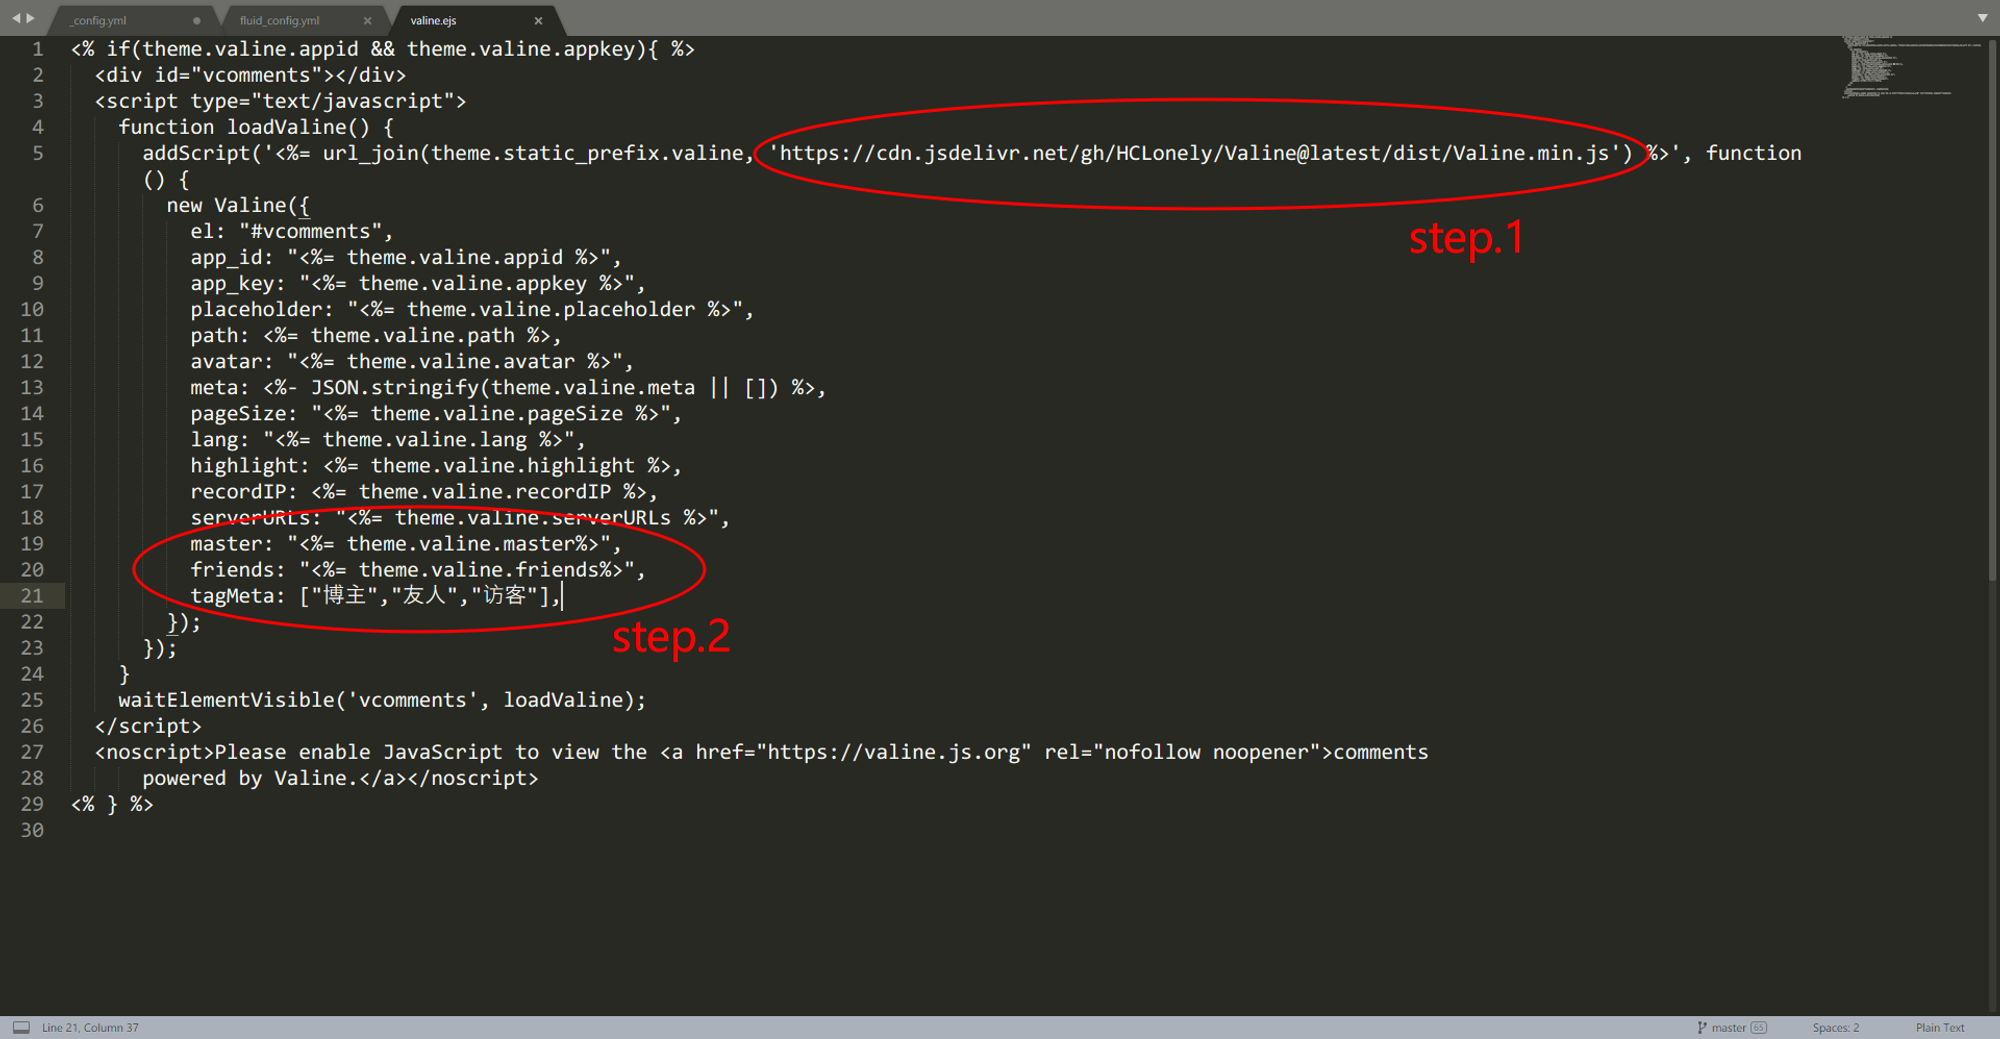
- 打开主题配置文件
\MyBlog\source\_data在 valine 评论系统处新增
master: b20c2cxxxxd422dc29ec7a5a3bd66f2ad # 你邮箱的md5加密(百度md5在线加密)
friends: a9126a74dxxxx638def0b16025,0173939xxxxx32a8cffc288b046dc # 好友邮箱的md5加密Copy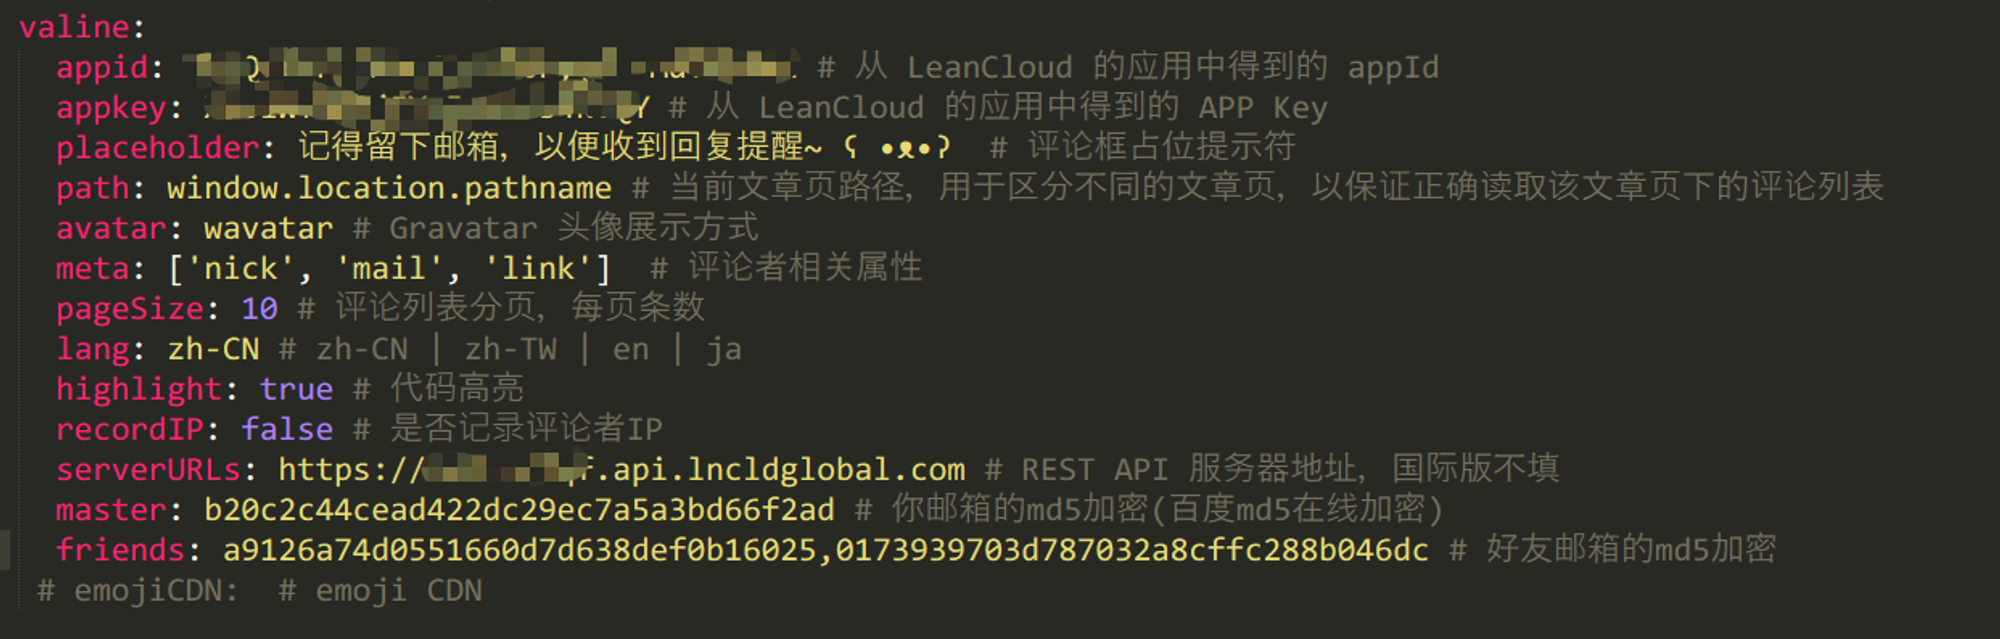
hexo s,hexo g -d重新部署便能看到效果。
- 若想在关于页也实现这样的效果,则对应地在
about.ejs里更新相关代码。
效果图: