


Dashibase Insert
Notion-esque form-builder for Supabase users. Build your form now

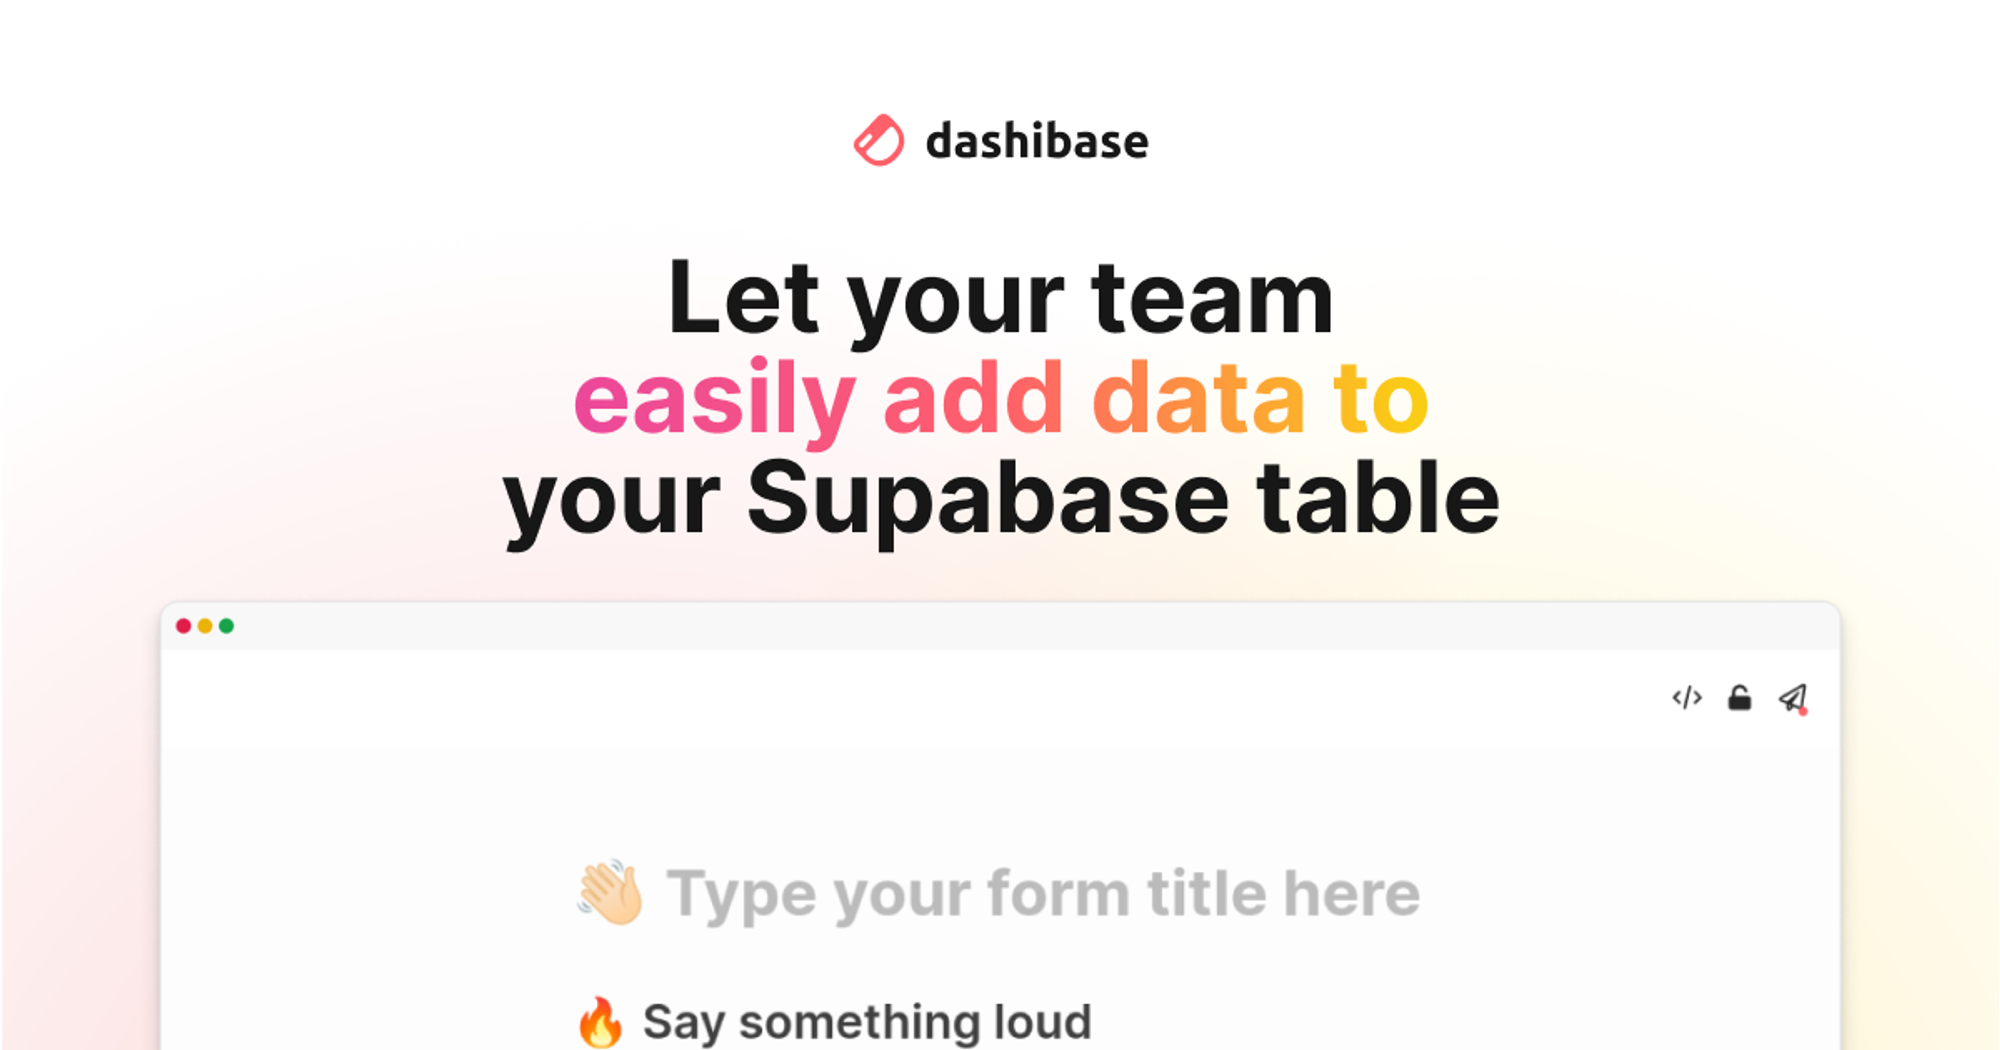
Design your next form with a beautiful Notion-esque UI, integrated with your Supabase project.
Inspired by Notion and Tally, built with Vue, Tailwind and Supabase.


We have a hosted version you can use for free!
But we also open-sourced our code, warts and all, for folks interested in how we coded up a Notion-like interface with Vue (see
src/components/editor for the relevant components) or wishing to self-host (see below for instructions).Contributions welcome!
Have suggestions for what to work on next? Join our Slack and let us know!
Features
- Notion-esque UI - navigate with keyboard shortcuts or rearrange blocks and components
- Integrated with Supabase
- Automatically detect required columns based on table schema
- Automatically detect input types based on PostgreSQL data types
- Embed forms on your own sites and supports logged-in users and RLS (for hosted version)
- Add a password to restrict access to forms
Getting Started with Self-hosting
0. Set up your Supabase
If you don't have a Supabase project yet, head over and create one.
Then you'll need to create a table to store metadata about your forms.
The simplest way to do this would be to just run the following SQL snippet in the Supabase SQL Editor.
CREATE TABLE forms (
 id uuid DEFAULT uuid_generate_v4(),
 "user" uuid REFERENCES auth.users NOT NULL,
 supabase_url text NOT NULL,
 supabase_anon_key text NOT NULL,
 table_id text NOT NULL,
 title text DEFAULT '' NOT NULL,
 blocks json DEFAULT '[]'::json NOT NULL,
 button_label text DEFAULT 'Submit' NOT NULL,
 -- Optional password_hash if setting password is supported, see Step 4
 password_hash text NOT NULL,

 PRIMARY KEY (id)
)
1. Clone this repository, go to the root directory and install packages
git clone https://github.com/dashibase/dashibase-insert
cd dashibase-insert
npm i
2. Configure environment variables
Create a
.env file with the following variables.VITE_SUPABASE_URL=<YOUR SUPABASE URL>
VITE_SUPABASE_ANON_KEY=<YOUR SUPABASE ANON KEY>
VITE_TABLE_ID=forms
3. Test it locally
npm run devBy default, this conjures a version of Dashibase Insert without embed or password support.
You should be able to log in with an account in your own Supabase project, then create and view forms.
4. Enable password setting
Setting a password entails more work for a few reasons:
- We need something to hash the password on the backend when it is set - with Dashibase Insert, we use a Postgres trigger
- We need something to validate the password on the backend when the form is requested - with Dashibase Insert, we use AWS Lambda
The following is sample code to create a possible Postgres function to run before the
forms table is updated or inserted. Here we concat the password with the form ID and then hash that with SHA256.CREATE FUNCTION hash_password()
RETURNS trigger
LANGUAGE plpgsql
AS
$$
BEGIN
IF (OLD.password_hash IS DISTINCT FROM NEW.password_hash) THEN
IF NOT (NEW.password_hash = '') THEN
NEW.password_hash=digest(NEW.password_hash||NEW.id, 'sha256');
END IF;
END IF;
RETURN NEW;
END;
$$;Then the function can be added as a trigger with the following code.
CREATE TRIGGER hash_password BEFORE INSERT OR UPDATE ON forms
 FOR EACH ROW EXECUTE FUNCTION hash_password();
Here is a sample of what the serverless function to validate passwords may look like. (If you are using AWS Lambda, see here for details about how to deploy Node.js Lambda functions with packages.)
exports.handler = async (event) => {
 const Supabase = require('@supabase/supabase-js')
 const hash = require('hash.js')
 const supabaseUrl = process.env.SUPABASE_URL
 const supabaseAnonKey = process.env.SUPABASE_ANON_KEY
 const supabase = Supabase.createClient(supabaseUrl, supabaseAnonKey)
 await supabase.auth.signIn({
 email: process.env.SUPABASE_EMAIL,
 password: process.env.SUPABASE_PASSWORD,
 })
 const form_id = JSON.parse(event.body).form_id
 const password = JSON.parse(event.body).password
 let { data, error } = await supabase
 .from(process.env.TABLE_ID)
 .select('title,blocks,supabase_url,supabase_anon_key,password_hash,button_label,table_id')
 .eq("id", form_id)
 .single()
 if (error) {
 return {
 statusCode: 401,
 body: JSON.stringify('No form found'),
 headers: {
 'Access-Control-Allow-Origin': '*',
 },
 }
 }
 if (data.password_hash) {
 if (!password) {
 // If password is required but not supplied, return 403
 return {
 statusCode: 403,
 body: JSON.stringify('Password required'),
 headers: {
 'Access-Control-Allow-Origin': '*',
 },
 }
 } else {
 // If password is supplied, run SHA256 on password concat with form ID,
 // or whatever you did previously with your Postgres trigger
 const password_hash = hash.sha256().update(password + form_id).digest('hex')
 if (password_hash === data.password_hash.slice(2)) {
 // If it matches, hurray return 200 with form details
 return {
 statusCode: 200,
 body: JSON.stringify({
 'title': data.title,
 'blocks': data.blocks,
 'supabase_url': data.supabase_url,
 'supabase_anon_key': data.supabase_anon_key,
 'table_id': data.table_id,
 'button_label': data.button_label,
 }),
 headers: {
 'Access-Control-Allow-Origin': '*',
 },
 }
 } else {
 // Otherwise return a 403
 return {
 statusCode: 403,
 body: JSON.stringify('Incorrect password'),
 headers: {
 'Access-Control-Allow-Origin': '*',
 },
 }
 }
 }
 }
 // If password is not required, just return the form details
 return {
 statusCode: 200,
 body: JSON.stringify({
 'title': data.title,
 'blocks': data.blocks,
 'supabase_url': data.supabase_url,
 'supabase_anon_key': data.supabase_anon_key,
 'table_id': data.table_id,
 'button_label': data.button_label,
 }),
 headers: {
 'Access-Control-Allow-Origin': '*',
 },
 }
};
After setting these up, you can add your Serverless URL to your
.env file and enable password setting.VITE_LAMBDA_URL=<YOUR LAMBDA URL>
VITE_ENABLE_PASSWORD=true
Then test it locally with the following.
npm run dev